Windows IoT 8.1 under VMWare
You can run the Windows on Devices Developer Preview image for the Intel Galileo within a VMWare virtual machine.

You can run the Windows on Devices Developer Preview image for the Intel Galileo within a VMWare virtual machine. The easiest way to do this is using the experimental UEFI support – present in Workstation 8 onwards.
Creating the Virtual Machine
The first thing to do is to create a new Virtual Machine. For the most part, the Windows 8 presets are acceptable, but with a few caveats:
- The Galileo image only supports a single processor with a single core. Having more than one thread available to the virtual machine will lead to a BSOD on booting the image.
- The Galileo image does not support the default Windows 8 hard drive controller. Select the Buslogic IDE for maximum compatibility.
You will need to switch to the UEFI firmware before booting the Windows IoT image in VMWare. In the latest previews of VMWare Workstation 11, there is a GUI option for this in the usual Virtual Machine preferences. If you are using 8 to 10, then you will need to close VMWare, and open the VMX file in a text editor. Append the following line, save the file and re-open VMWare.
firmware="EFI"
Applying the image
Use another operating system (such as the WinPE on a Windows 8 installation DVD) to format the drive as a single FAT32 partition. It is important that FAT32 is used, because UEFI will only boot from a FAT32 partition.
Then apply the image using whatever prerequisite tools are available. For example, if your image is a WIM, use DISM.exe in the Windows 8 installation DVD to apply the image.
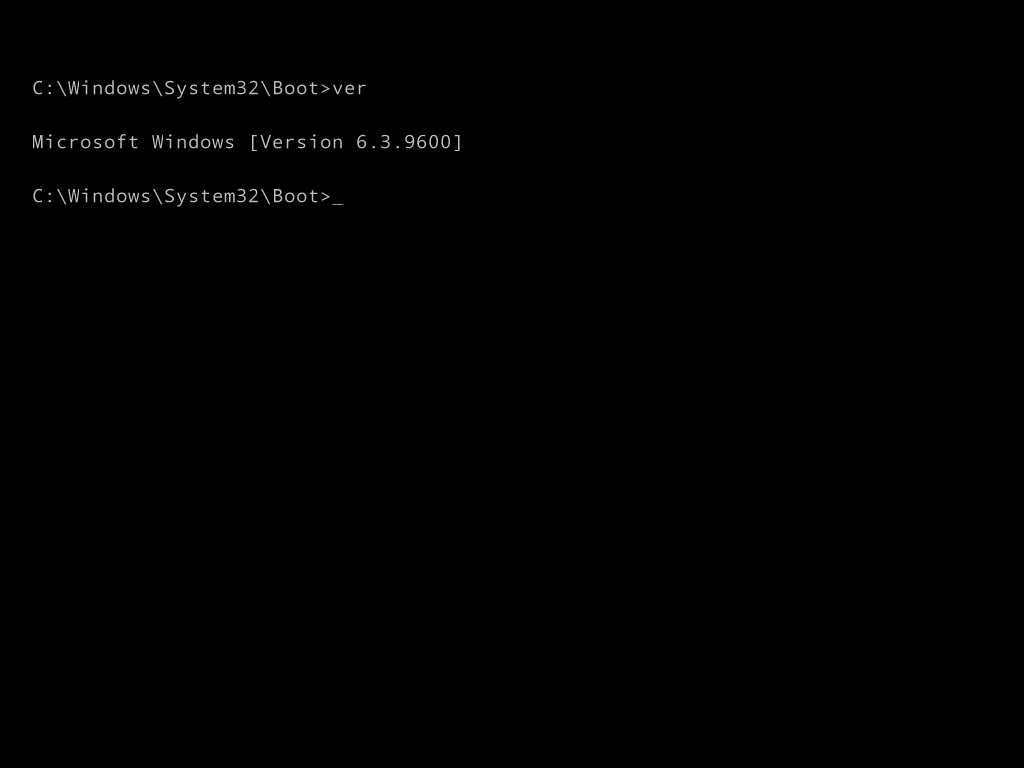
Reboot the Virtual Machine and you should find that your image now boots successfully. There are likely to be a few processes spawned as part of the process – my image settles on showing the EBOOT process attempting to run by default. Use Alt+Tab to switch between the different concurrent applications, and you’ll eventually find yourself the command line shell.